
Choosing the Perfect Lens for Stunning Property Photography
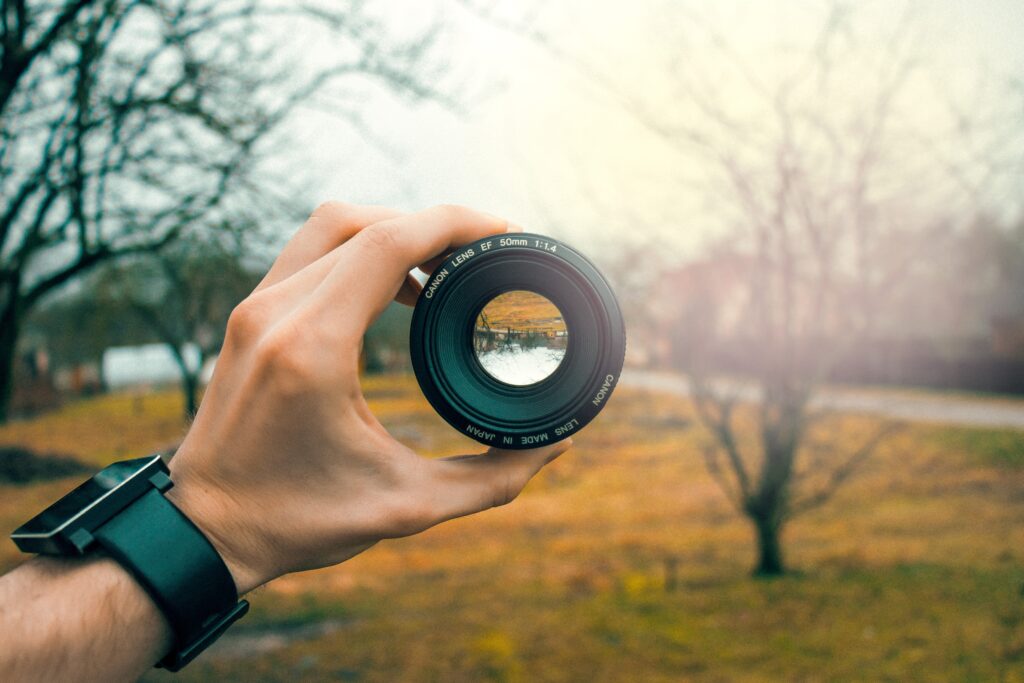
Welcome to Hovver, where we believe every home has a unique story waiting to be captured. One of the key elements in telling that story is the right lens. In this guide, we’ll explore the best lenses for property photography, helping you make informed choices to enhance your property images and leave a lasting impression on potential buyers. 1- Understanding the Basics: Before diving into specific lenses, it’s essential to understand the basics. In property photography, you’ll often encounter the need for wide-angle shots to capture entire rooms and showcase the spaciousness of a home. Additionally, lenses with excellent optical quality are crucial for sharp, distortion-free images. Take a look at some of our work for inspiration. 2- Wide-Angle Lenses: For property photography, a wide-angle lens is a must-have. Lenses in the range of 16mm to 24mm are popular choices. These allow you to capture more of the room in a single frame, making spaces appear larger and more inviting. Our top recommendations include the Canon EF 16-35mm f/4L IS USM and the Nikon AF-S NIKKOR 14-24mm f/2.8G ED. 3- Prime Lenses for Detail Shots: While wide-angle lenses are fantastic for capturing entire rooms, incorporating a prime lens (e.g 50mm or 85mm) can be invaluable for highlighting specific details. Prime lenses excel in producing sharp, crisp images and are perfect for showcasing unique features like intricate architecture or beautiful fixtures. 4- Consideration for Crop-Sensor Cameras: If you’re using a crop-sensor camera, keep in mind that the effective focal length will be different. Adjust your lens choice accordingly to achieve the desired wide-angle effect. Canon’s EF-S 10-18mm f/4.5-5.6 IS STM and Nikon’s AF-P DX NIKKOR 10-20mm f/4.5-5.6G VR are excellent options. 5- Tilt-Shift Lenses: For advanced users looking to correct perspective distortion and achieve precise control over focus, tilt-shift lenses are a valuable addition. These lenses, such as the Canon TS-E 17mm f/4L allow you to tilt and shift the lens to correct converging lines and maintain straight verticals in architectural shots. 6- Considering Your Shooting Style: Assess your shooting style and preferences. Some photographers prefer zoom lenses for versatility, while others prioritise prime lenses for their optical quality. Understanding your style will guide you in selecting the lens that best suits your needs. 7- Lens Maintenance and Care: Regardless of your lens choice, proper maintenance is crucial. Keep your lenses clean, use lens hoods to prevent flare, and store them in a protective case when not in use. Choosing the right lens for property photography is a key element in creating visually stunning images that capture the essence of a home. At Hovver, we understand the importance of the right equipment, and we hope this guide has helped you in making an informed decision. Whether you’re aiming for wide-angle grandeur or focusing on intricate details, the perfect lens is out there to complement your vision and enhance your property photography skills. Happy shooting!
The Definitive Guide to Staging your Property for Property Photography
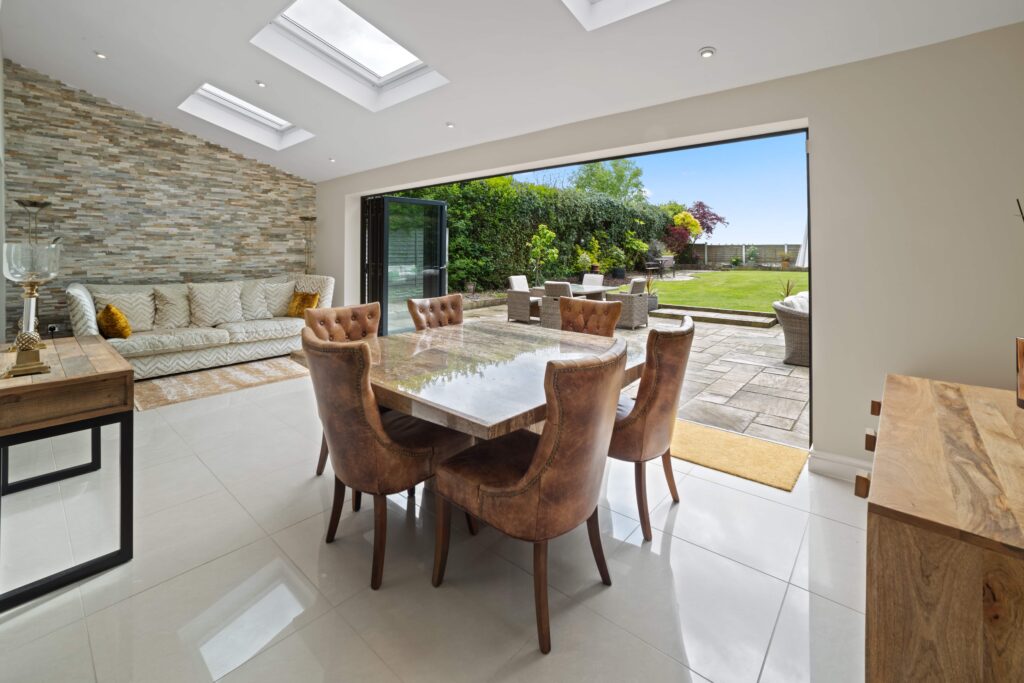
When it comes to selling your home, first impressions matter, and there’s no better way to make a captivating initial impact than through professional property photos. Properly staged homes not only photograph well but also create an inviting atmosphere that resonates with potential buyers. In this blog, we’ll explore essential tips and tricks to stage your property effectively before its photoshoot, ensuring that it stands out in the competitive real estate market. Lets take a look at the definitive guide to staging your property for property photography. 1. Declutter and Depersonalise Begin by decluttering your space. Remove personal items, excess furniture, and any unnecessary belongings. The goal is to showcase the potential of the property, allowing potential buyers to envision themselves living there. 2. Emphasise Cleanliness and Organisation A clean and organised home not only photographs well but also gives the impression of a well-maintained property. Pay attention to details such as tidying up shelves, arranging furniture neatly, and ensuring that surfaces are clear of clutter. A home that is not tidy can give prospective buyers the impression that other aspects of the home may also not be cared for. 3. Highlight Key Features Identify and showcase the unique selling points of your home. Whether it’s a charming fireplace, a spacious kitchen, or stunning architectural details, ensure that these features are prominently featured in your staging. 4. Set the Scene for Each Room Consider the intended use of each room and stage accordingly. Transform a spare room into a functional space, such as a home office or guest bedroom. This helps potential buyers visualise the possibilities each room offers. This is a key component in how to stage your property for photography. 5. Create a Neutral Palette Opt for neutral colours when staging. Neutral tones create a blank canvas that allows potential buyers to project their own style onto the space. This not only photographs well but also appeals to a broader range of preferences. 6. Maximise Natural Light Natural light enhances the visual appeal of a property. Open curtains and blinds to let in as much natural light as possible. Well-lit spaces feel more inviting and spacious, creating a positive impression in photos. 7. Accessorise Thoughtfully Carefully chosen accessories can enhance the overall aesthetic. Consider fresh flowers, strategically placed cushions, or tasteful artwork to add a touch of elegance without overwhelming the space. Here is a great blog on how to do that more thoroughly. 8. Furnish Outdoor Spaces If applicable, stage outdoor areas such as patios or gardens. Outdoor spaces are an extension of the home, and well-staged exteriors can significantly impact a buyer’s perception. 9. Consider Scale and Proportion Ensure that furniture and decor are appropriately scaled for each room. Overly large or small items can disrupt the balance of a space in photos. 10. Seek Professional Advice If you’re unsure about how to stage your property effectively, consider consulting with a professional home stager. Their expertise can provide valuable insights into enhancing the visual appeal of your home. Conclusion: Captivate Buyers with a Well-Staged Property Staging your property for a photoshoot is a crucial step in the selling process. A well-staged home not only photographs beautifully but also appeals to the emotions and aspirations of potential buyers. By following these tips, you can create a visually stunning representation of your property that leaves a lasting impression and increases its market appeal. Remember, the investment in staging is an investment in the successful sale of your home. If you need any examples of great rooms, take a look at our internals shots here. We hope this answers your question on how to stage your property for photography. If you would like to know more please get in touch here.